 I use my iPhone to take a photo, then overlay a grid to use as a guide to a chalk drawing of the photo. This process can be done on a computer, for example using photoshop, however, being able to use the iPhone potentially saves extra steps, time and is more portable.
The following steps describe the process I have experimented with to create grid overlays on the iPhone, which are printed to our hp color printer using an app for wireless  printing.
1. Take a Photo
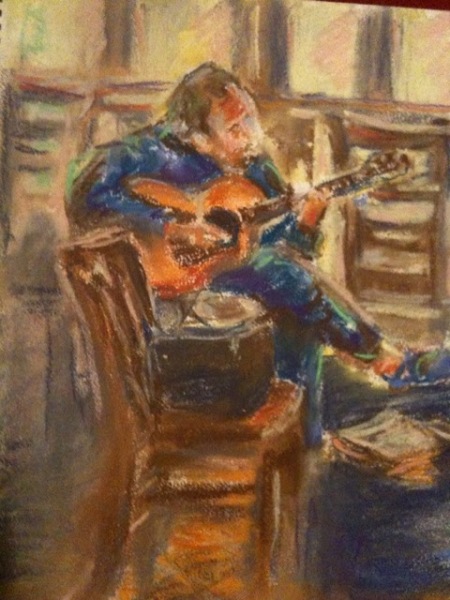
 This photo of a guitar player was taken at a local cafe one Saturday afternoon. Obviously, composition and lighting are important, but I didn’t feel I could ask him to move his speakers and chairs around to accomodate my artistic needs!
2. Open iPhone App to Edit Photo
There are several iPhone apps that allow you to overlay one image (e.g., a grid) on another image or photo.![]()
The program I currently use is Sketchbook Mobile Express, made by Autodesk. They offer a free version with up to 3 layers.
3. Add a Grid Layer
Tou ching the small, round tool icon at the bottom of the SketchBook Mobile window brings up a set of icons. Touching the Layers Editor icon (about “7 o’clock”) brings up a screen where “+” creates a new layer.
Then, touching the icon to the right of the “+” allows you to select an image (in this case, a grid) from your 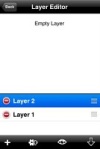 photo library. I created a grid by using Photoshop Elements to draw the grid pattern, added the image to iPhoto, then synched to my iPhone. You can also email the grid file to your iPhone then save to a photo album.
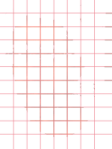 You can create your own grid with Adobe Elements (or a similar program), or download a copy of the grid I am using (right-click on grid image to the left). I used Elements, and “Saved for Web” as a GIF with transparency.
You can also draw a grid by hand and take a photo of it, however, you will need to reduce its opacity (within the iPhone app) so the image layer shows through.
The image to the right shows the photo with the grid overlay. If you have an HP wireless printer and HP  printing app, you can print the image directly from your iPhone (however, the app only seems to print in a reduced size). Or, email the photo to a computer for printing full-size to use as a guide for drawing. It may be helpful to also print a version of the photo without the lines, as sometimes the lines may obscure important details.
Lacking a printer, you can always just use the iPhone image as a guide.
4. Draw a Grid on your Paper or Canvas
Use a ruler and pencil (or chalk line, if working on a chalk street painting) to lay out a grid that corresponds to the gri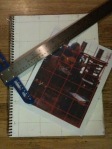 d overlayed on your photo. In the example, I only drew the major lines, to produce a 4 x 6 grid.
You can also draw the sub-lines if you are working with a detailed image, however, it is more work to add and subsequently erase the extra lines. Working with fewer lines requires that you pay more attention to the spaces and relationships between lines, so you are less likely to get too involved in a technical tracing exercise.
You will have to scale the distance between the lines depending on the size of your canvas. For example, because my pad of paper was 11 inches wide, I measured a distance of 2.5 inches between each of the four vertical lines to span 10 inches, compared to the 8 inch width of the printed image. Similarly, the six horizontal lines were measured 2.5 inches apart, so they extended the length of the 15 inch tall paper. Keep the distances between all lines the same, or the proportions will be distorted.
If you are working on a chalk street painting, you may be measuring a distance of 12 inches or more between the lines.
5. Sketch Image
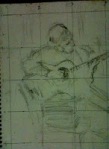 Using the photo with the grid overlay as a guide, sketch the image onto the matching gridlines on your paper or canvas. The major and minor lines help you to check that your sketch matches the proportions of the original photo. Your lines should cross in the locations on the gridlines as the corresponding lines on the
 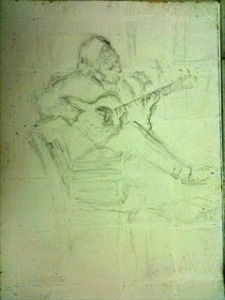 original photo.
After you are satisfied with the drawing, erase the gridlines.
6. Complete Your Art
Using pastel chalk over the sketch, I find that starting with very light layers helps to retain the sketch as a guide for a longer period. Once I am happy with the shapes and shading, then I feel more comfortable adding layers that eventually obscure the original sketch.
Good luck!
Leave a comment